Most of the audition advice floating around on the internet applies to older dancers auditioning for advanced parts or ballet companies.
The audition process can seem a bit intimidating for parents and dance kids who are trying out for the very first time. Don't worry! It's not as scary as the movies. I promise.
Here are some Do's and Don't's to help you through your dancers audition.
 DO:
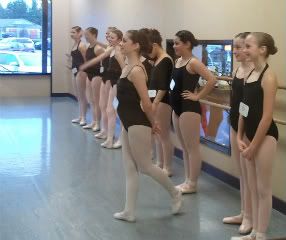
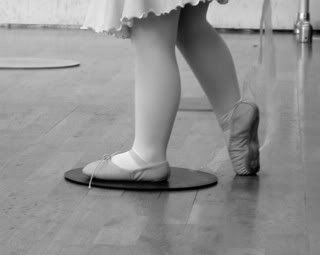
DO:*Come prepared. Your class uniform is fine, but everything should be clean, neat, and in good repair (No holes!!) Hair should be in a stage-ready bun with no whispies. Remove any jewelry before going in.
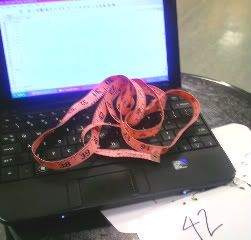
*Arrive early. Give yourself plenty of time to fill out paperwork, have measurements taken, and get comfortable with the process.
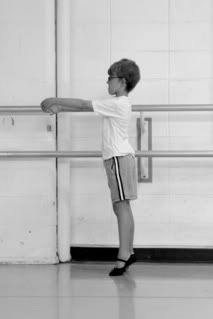
*Encourage your dancer to warm up and stretch if they are old enough to do so.
*Remind your dancer to curtsy and thank the instructors.
*Bring your calendar! Many studios will have a tentative rehearsal schedule in place and will want to know about any conflicts or family trips right away.
 DON'T:
*Don't load on the stage makeup. If your dancer is old enough to wear makeup on a day to day basis, then light and natural looking make-up is fine. The younger crowd does not need makeup unless instructed otherwise.
*Don't try to watch the audition. It's not allowed. Period.
*Dont talk and chatter in the space outside the audition room. If you can hear their music, they can hear your voice.
*Don't rush out the door the second they're dismissed. Hang around a little bit. Some places will need to see your dancer again in combination with other dancers, or have questions for you. Be sure you're REALLY done before you go home.
*
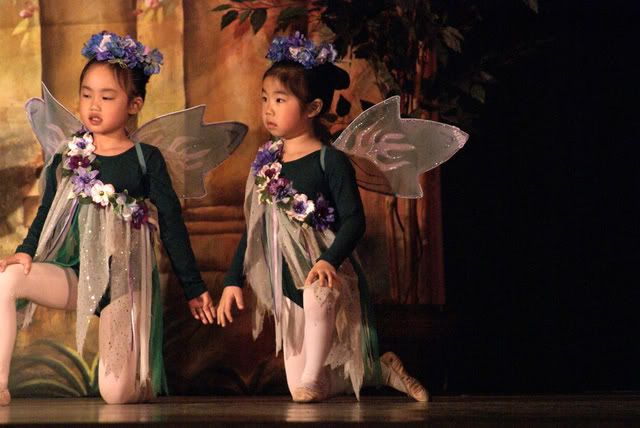
Please, don't ever tell your child that you're sorry they didn't get a bigger part. They are ALL big parts. The so called "small" parts are the ones that tell the story, and there wouldn't be a ballet without them.